How to Take the Perfect Room Photo for AI Design: Expert Tips for Better Results
Getting amazing AI design results starts with one crucial step: taking the right photo of your room. Just like a professional designer needs to see your space clearly, AI design tools work best when they have a clear, well-lit image to analyze.

Through experience with AI design tools, we've learned exactly what makes the difference between okay results and absolutely stunning ones. Here's your complete guide to room photography for AI design.
The Golden Rules of Room Photography
1. Lighting is Everything
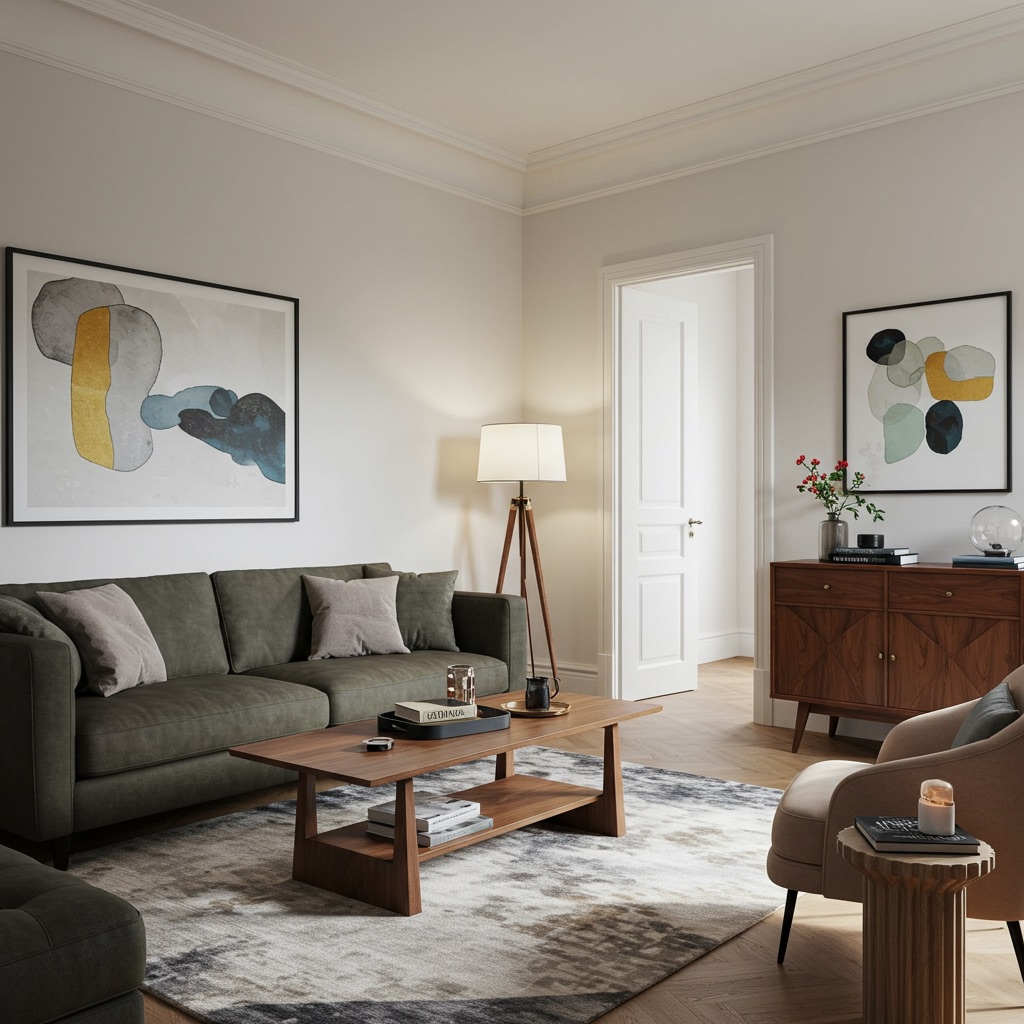
Natural light is your best friend. Take photos during the day when your room has plenty of natural light flowing in. Avoid harsh direct sunlight that creates strong shadows – instead, aim for that soft, even lighting you get on a slightly overcast day or when light bounces off nearby buildings.
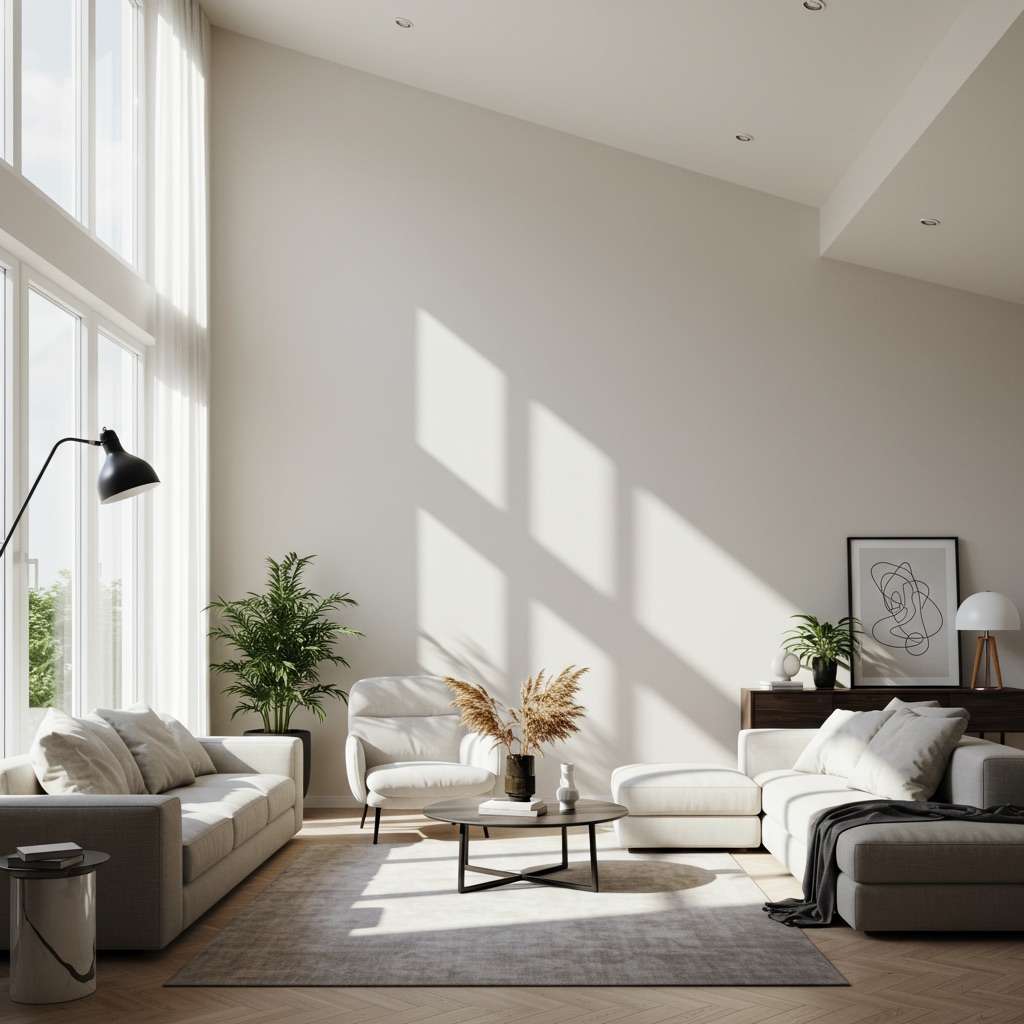
Pro tip: Turn on all your room lights too. The combination of natural and artificial light gives AI the clearest view of your space's true colors and textures.
2. Find the Sweet Spot Angle
Stand in the doorway or corner that shows the most of your room. You want to capture:
- At least two walls meeting at a corner
- Major furniture pieces
- Windows and light sources
- The room's main focal points
Avoid: Taking photos from the center of the room looking at just one wall – this doesn't give AI enough context about the space's layout and proportions.
3. Height Matters
Hold your phone or camera at chest height (about 4-5 feet from the floor). This mimics how we naturally see and experience rooms. Too high and the perspective looks unnatural; too low and you'll get too much floor and not enough wall space.
What Makes a Photo AI-Friendly
Clean and Clear
You don't need to completely declutter, but remove obvious distractions:
- Personal items like clothes or dishes
- Temporary items that aren't part of the room's design
- Pets or people (they can confuse the AI)
Keep the "lived-in" feel with books, plants, and decorative items – these actually help AI understand your style preferences.
Show the Real Room
Take the photo of your room as it actually is, not staged. AI works best when it can see:
- Your current furniture arrangement
- Existing lighting conditions
- Real proportions and scale
- Any architectural features or challenges
Multiple Angles Help
While one great photo can work wonders, consider taking 2-3 shots from different corners. This gives you options and helps if one angle doesn't capture the room's best features.
Common Photography Mistakes to Avoid
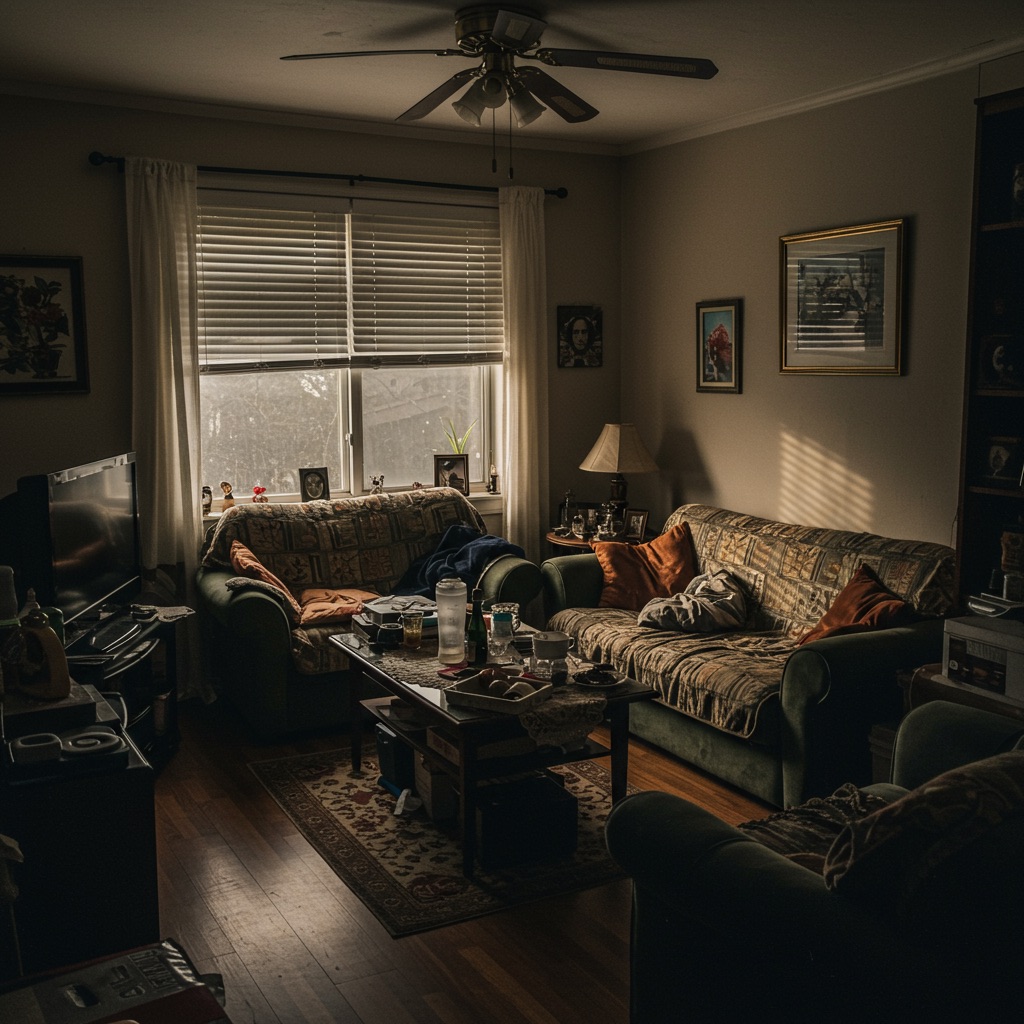
The "Instagram Filter" Trap
Resist the urge to edit your photos before uploading. AI needs to see accurate colors and lighting to suggest designs that will actually work in your space. Heavy filters or extreme editing can lead to suggestions that look great in theory but terrible in reality.
Too Much Focus on Problems
Don't take photos that emphasize what you don't like about the room. Instead, capture the space neutrally and let AI suggest solutions for the issues you're facing.
Extreme Wide-Angle Distortion
If using a wide-angle lens or phone setting, be careful not to create extreme distortion that makes your room look unnaturally stretched or curved.
Technical Quick Tips
Phone Settings:
- Use the regular camera mode (not portrait or night mode)
- Make sure HDR is on for balanced lighting
- Clean your lens – seriously, this makes a huge difference
- Hold the phone steady or use a timer to avoid blur
Timing:
- Mid-morning to early afternoon usually provides the best natural light
- Avoid late evening when warm artificial light dominates
- Rainy days can actually provide beautiful, even lighting through windows
Room-Specific Photography Tips
Living Rooms
Capture the seating area and main focal point (TV, fireplace, or large window). If your living room is large, you might need two photos: one of the seating area and one of any additional zones.
Bedrooms
Stand in the doorway or foot of the bed to capture the sleeping area and any seating or desk zones. Make sure to show how much wall space you have available.
Kitchens
Focus on the main work triangle (sink, stove, refrigerator) and any island or dining areas. Kitchens often need multiple angles to show both storage and prep areas.
Small Spaces
In tiny rooms, sometimes you need to step just outside the doorway to capture the full space. Don't worry if the photo shows a bit of the hallway – AI is smart enough to focus on the main room.
Testing Your Photo
Before uploading, ask yourself:
- Can I clearly see the room's layout and proportions?
- Are the colors accurate to real life?
- Is the lighting even without harsh shadows?
- Would someone unfamiliar with my space understand the room from this photo?
If you answered yes to all four, you're ready for amazing AI design results.
What Happens Next
Once you upload your perfect photo to Style Blast AI, our advanced AI analyzes everything from your room's proportions and lighting to your existing style preferences. The better your photo, the more personalized and realistic your design suggestions will be.
Remember: great design starts with great communication. Your photo is how you communicate your space to AI – make it count.
Ready to transform your space? Upload your perfectly captured room photo to Style Blast AI and see what's possible in just minutes. Our AI is waiting to help you create the room of your dreams.